Thursday, March 7, 2013

icy cat eye


As much as I love a bold lip, there's nothing like an accentuated eye look. Inspired by the cold winter weather, I went with a cat-eye look using icy, cool colors.

I started with prepping the skin with my three favorite primers - Benefit Stay Don't Stray Primer is for both under the eyes and the eye lid, ensuring that both under-eye concealer and eye shadow stay put, Benefit POREfessional Primer, which seemingly makes pores disappear, is perfect for the t-zone area, and I use Smashbox Photo Finish Primer for the rest of my face. All three primers work together to create a seamless canvas for the rest of the makeup.


Using the Sephora Collection Pro Foundation Brush #47, I blended a sheer layer of YSL Touche Eclat Foundation all over my face for a flawless complexion. Using the brand's Touche Eclat highlighter, I highlighted under my eyes, my cheekbones and under my eyebrows. I contoured under my cheekbones with Estee Lauder Bronze Goddess Soft Shimmer Bronzer, blending to ensure that there were no harsh lines.


For the eyes, I started by blending Chanel Illusion D'Ombre in Epatant, a gorgeous silver shimmer with hunter green undertones, all over my eyes just a bit above the crease of my eyes. Then, using Chanel Illusion D'Ombre in Illusiore, a steel-like shimmer with plum undertones, I applied the eyeshadow in the crease and along the lash line-then blending out towards the eyebrow in a cat-eye way. Then, using the Urban Decay Naked 2 Palette, I took the white silvery shimmer, Verve, and blended it from the inner corner to the middle of the eye. Also using Verve, I went from the inner corners of the eye down to the middle of the bottom lid as well. Using the darkest color from Naked 2, Blackout, I created a subtle smokey cat-eye by creating a horozontal V going from the crease to the upper lash line. Using MAC Pro Eyeliner, I lined both the inner and outer corners of my eye, as well as the bottom lid. Finishing the look with three heavy coats of YSL Faux Cils Shocking Mascara and setting the makeup with Urban Decay All Nighter Makeup Setting Spray to ensure that the look would last, I was ready to go!


Products Used:
Benefit Cosmetics Stay Don't Stray Primer (available here), Smashbox Photo Finish Primer (available here), Benefit Cosmetics POREfessional Primer (available here), Sephora Collection Pro Foundation Brush #47 (available here), Yves Saint Laurent Touche Eclat Foundation (available here), Yves Saint Laurent Touche Eclat Highlighter (available here), Urban Decay Naked 2 Palette (available here), Chanel Illusion D'ombre Eyeshadow in Epatant & Illusoire (available here) , Chanel Nail Polish in Dragon (available here), MAC Pro Eyeliner (available here), Yves Saint Laurent Faux Cils Shocking Mascara (available here), Estee Lauder Bronze Goddess Soft Shimmer Bronzer (available here), Yves Saint Laurent Rouge Pur Couture #24 (available here), Urban Decay All Nighter Spray (available here)


What is your favorite smokey eye look? Do you like to keep it dark and dramatic or lighten up a bit?


Pin It Now!

Friday, December 21, 2012

'tis the season: holiday peacock eyes


One of my favorite makeup looks year round would be the ever popular smokey eye, so I figured what better way to update it than with some holiday colors, thus turning from a smokey eye to a peacock eye! I don't know about you, but a rich dark emerald green is what I consider one of the most beautiful colors out there. I decided to pair the green with a gorgeous gold for a dramatic and reflective contrast.


The peacock eye is associated with the brilliant Pat McGrath for Roberto Cavalli's Fall 2012 show, who used as much as four bright and contrasting colors on the eye. While nothing less than stunning on the runway, for a more subtle but equally gorgeous look, pick an unexpected pair of shimmery dark and light colors.


I prepped Jilly's gorgeous skin with her favorite moisturizer and then Make Up Forever HD Primer. After, I applied a light layer of Yves Saint Laurent Le Teint Touche Eclat foundation. I then defined her already perfect cheekbones with a little bit of Estée Lauder Bronze Goddess bronzer.


When you work with any eyeshadow, you're going to want to use a primer to ensure not only that it wont move, but that the color will be at its purest saturation. The eye primer I used on Jilly was Benefit Stay Don't Stray primer. After, I applied the gorgeous gold, Half Baked, from the Urban Decay Naked palate from the inner corners to the middle of her eye. I then applied NARS Night Porter eyeshadow, a gorgeous dark emerald green, from the middle of her eye out-making sure to blend!


I then used my personal favorite mascara, Yves Saint Laurent Shocking Mascara in black, and a quick swipe of my favorite nude lip, YSL Rouge Pur Couture in 24 Blonde Ingenu, and all done! A perfect played up eye look for the holidays!


Pin It Now!

Tuesday, December 11, 2012

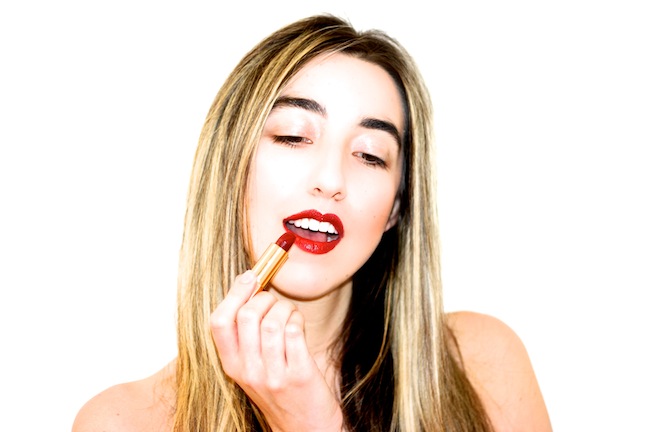
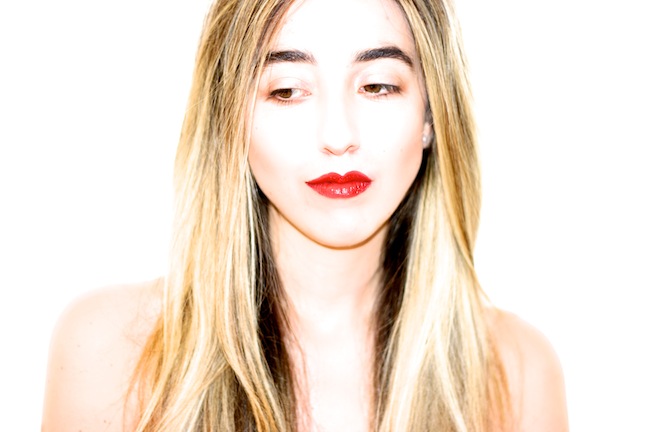
'tis the season: red lip & glowing skin


I don't know about you, but every year after Thanksgiving, my makeup look completely changes up! I've been known to rock a red lip, but what better time of year to do it than around the holidays? To me, winter is the perfect time of year to rock your reddest reds on your lips-especially since the cold weather will ensure that your perfect pout wont melt or smudge!


products used: Yves Saint Laurent Le Teint Touche Eclat, Yves Saint Laurent Touche Eclat Radiant Highlighter, Chanel Rouge Coco Hydrating Lip Color #19 Gabrielle (similar), Chanel Rouge Allure #71 Fatale, Estée Lauder Bronze Goddess Soft Shimmer Bronzer


To get this holiday look, apply a light layer of sheer to medium illuminating foundation all over the face. Then, dot highlighter under the eyes, on the cheekbones under the eyebrows and the cupid's bow. Fill in your eyebrows with pencil for some added definition (although with Jilly's envious brows, none were needed).


Contour just under your cheekbones with a bit of bronzer-but remember to blend! No mascara was used on Jilly, but if you ladies are one of those who refuse to leave the house without mascara on, go for one coat of your favorite lengthening mascara (I like this one or this one). Lastly, apply your favorite red red a lip brush to ensure that the line of your red lips are perfect! I mixed two Chanel colors for Jilly to make what I believe is her perfect red!


What is your go-to beauty look? Do you feel like you switch things up during the winter?


This post has been submitted to the IFB project


Pin It Now!

Saturday, September 22, 2012

the want list: oh my nails


chanel vertigo, butter london the old bill polish (available here), ysl polish in bleu majorelle (available here), chanel frenzy, dior bond street, chanel graphite, tom ford burnt topaz (available here), ysl khaki arty (available here), chanel peridot, tom ford african violet (available here), nars space odyssey (available here), tom ford burnished rouge, ysl bleu cobalt (available here), chanel vamp, chanel particuliere, nars flight night (available here), chanel vendetta, estée lauder viper (available here), chanel quartz, tom ford silver smoke (available here), dior red royalty (available here)


Pin It Now!